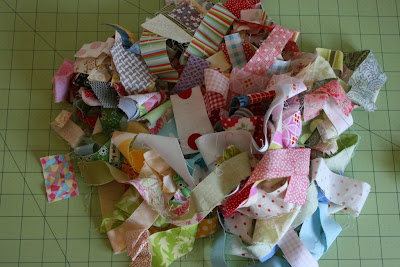
If you want to make some of these little babies yourself, here's how. You know, because I want to enable you to use your scraps, too. That way I won't look quite as crazy.
First, make a pattern of an equilateral triangle that measures 3.5" on each side. (Or any size you please.)
I drew it on paper first, using my 60 degree markings on my cutting ruler as a guide.
Make a cardboard template of the triangle. Use the cardboard template to trace the triangle onto scratch paper. Math homework sheets seem to work the best. (ha!) Once the triangles are traced, cut them out using a paper scissors.
Then, take your fabric scraps, the smaller the better. Pick two.


Make sure that the scraps will cover the paper completely when in place.
Trim, using the paper as your guide.
There is a little waste...but not much. Yay!!!
Repeat until your heart's content.
One disclaimer....sewing through the paper will dull your needle, so you will want to change it afterwards. I usually have a few needles set aside just for foundation paper piecing projects like this.
I'm sewing my little triangles into rows. And someday will make a pillow cover with it.
If you try this, I'd love to see what you come up with! Have fun playing with your scraps!
Happy Monday to you!


