
--It works very well for quilting specific sections of a quilt.
--It allows you to work back and forth, without turning the entire quilt in your machine each time you change direction.
--It gives your lines a free form, sketchy feel.
--There is far less fabric shifting because the free motion foot floats over your fabric. You can avoid the shifting or "V" formation that sometimes occurs (or always occurs, for me!) when using a walking foot.
What to watch for:
--Stitch length. With a walking foot your machine determines the stitch length. When you are free motion quilting, it's all up to you! If you've done some (or any) free motion quilting, this isn't anything new.
--Starting and stopping. When you are using a walking foot, if you are careful, you can adjust the quilt on the fly. Not with this technique. There is a lot of quilt shifting, and each time you start and stop it's pretty easy to get a little jog in your "straight" line. Starting back up again slowly helps. Also, how you grip your quilt makes a big difference. (See tips below.)

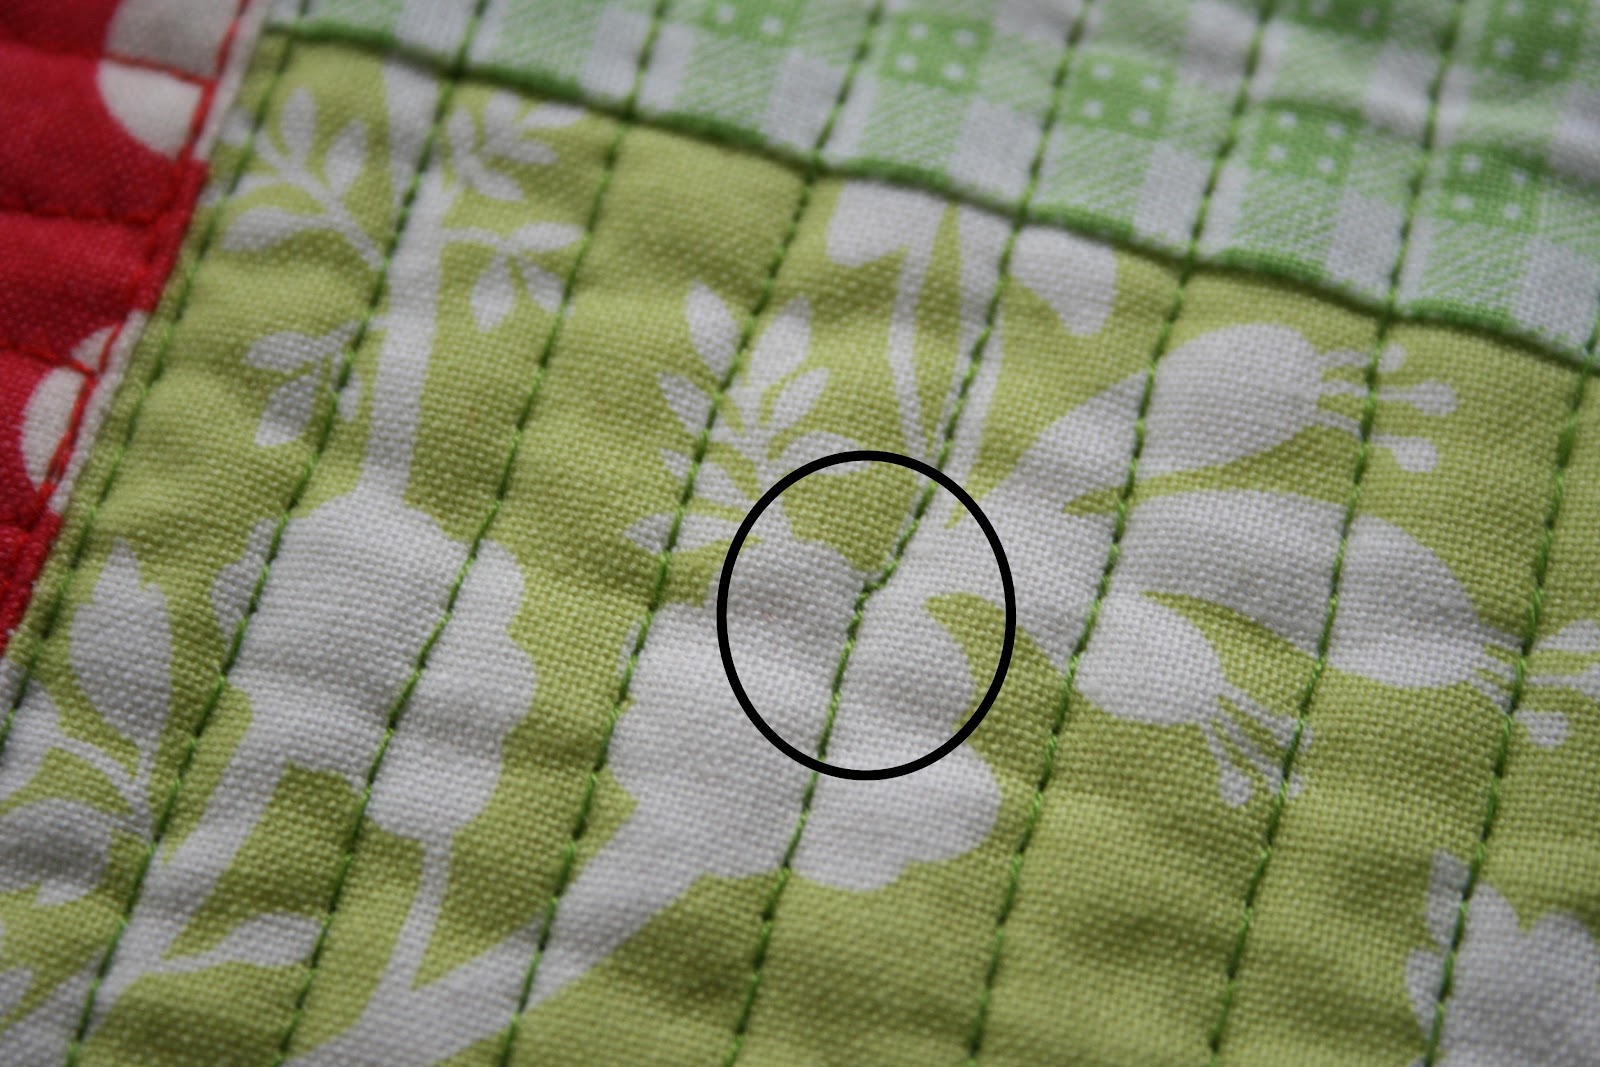
--Perfectionism. If you are going to try this technique, remember that this isn't all about straight lines. It's a free form approach. You need to allow yourself some errors and realize that in the big scheme of things the wobbly lines are charming. No one is going to point out (or circle) your errors. There are times to rip stitches and there are times to just let them go and keep moving forward. It's best to decide before hand to let a few things slide. (I know I had to!) If they really bug you, rip them out.
Tips for grips:
--Hold your hands in a hoop formation and then guide the quilt slowly. If you have an extended table for your machine, this would be a good time to use it.
--Try gently pulling the quilt from behind the foot with your left hand and guiding the quilt with your right hand.I used each of these techniques about 50% of the time. Do what is comfortable and what works for you.
Specific to this quilt:

I made things more difficult for myself and outlined each section with my walking foot and then did the free motion straight line quilting. The reason? I wanted to have a nice crisp line to start. I will certainly do the same thing again when I use this technique in the future.

Here's a rough little drawing of my stitching lines. I connected each of my lines of stitching by doubling over the outline stitching that I did with the walking foot. I wanted to have as few starts and stops (in regards to thread) as possible.
A few more things I should mention...(and really, these apply to all types of quilting):
--Keep an eye on your tension on the back of your quilt. Some threads that I used held the tension very well no matter which direction I sewed in. Some threads, not so much. Keeping an eye on the back and catching any problems early saves some stitch ripping time. Ask me how I know!
--Support your quilt well. I set up my ironing board directly to the left of my desk and at the same height. This supports the bulk of the quilt and allows me plenty of space to spread it out as I'm working. It helps so much!
I'd encourage you to give straight line quilting with a free motion foot a try. It is a lot of fun! Starting on a mini quilt or something small scale would be a good way to practice. If you have any questions, I'll try to answer them in the comments.
Happy Monday to you!