
Why hello there! :) Today I'm happy to share a little tutorial on how to make a ragtime quilt. As with any of my tutorials (or any of the work on my blog, for that matter), this is not the only way to make it, it is just one way to make it. I'm simply sharing my approach. I'm by no means known for having the most direct approach. Ha!
This quilt finishes at about 40" x 60". I'd consider that a large baby quilt or a child's lap quilt. The fabric is a fun line of flannels by Connecting Threads called Wild Ones. I used 27 fat quarters. I did not pre-wash my fabrics.

Cut a total of 300 5" blocks.

Cut 150 4" squares of batting. I'd recommend using warm and natural or warm and white batting. Or both. :) This is a great way to use up batting scraps! I would NOT recommend using any batting that is medium or high loft. It will be a wrestling match. Alternatively, you could use flannel in place of batting (I haven't tried it) OR you could simply use flannel for both layers and omit the batting altogether. (I haven't tried this, either.)
Keep your squares in pairs, so the front and the back will be the same. I would recommend this 99% of the time. On my last rag quilt I went completely scrappy, so the fabrics were different on each side, and it worked pretty well. But when it comes time to layout your blocks, keeping the fabric the same on both the front and the back will make things much, much easier.

Take one square of fabric, place it face down. Layer a batting square on top, centering it. No measuring is required, just eye ball it. Take another square of fabric, place it face up on the batting. Of course you will line up the top fabric square with the bottom square. In this photo it is offset for illustration purposes.

Use your walking foot (I would recommend matching thread in both the top and bobbin) and quilt an X through the block, from corner to corner. Repeat this process for the remaining 149 blocks.

Take any 2 random blocks, and sew them together using a 1/2" seam allowance. Sew blocks end to end, until you have 10 blocks joined together. Make 15 rows.
This is my big tip. Use a zipper foot rather than a walking foot to join the blocks together. Angela actually suggested that in the comments of this post. Thanks so much, Angela, you are a genius! The zipper foot worked fabulously. When I was using a walking foot to attach the blocks together, I felt like the bulk of the batting kept pushing against the walking foot and often times the seams were wavy. The zipper foot made it so much easier to sew a straight line by just following the ridge. Sweet!

Once all your rows are complete, lay them out on the floor in a pleasing arrangement. Take a photo and check for color clumping. Rearrange any rows if needed. When making patchwork, I almost always do this....make random rows and then arrange the rows. It's so much easier than arranging 150 squares separately!

To join the rows together, take two strips and nest the seams, as you would with any patchwork...except you really don't need to press your seams! Pin at each intersection. Sew the rows together, again, using the zipper foot and 1/2" seam allowance. Toward the bottom of the photo you can see how the seams point in the opposite direction from each other after they are sewn. Repeat the pinning and sewing until all the rows are joined together.
Sewing the rows isn't the most fun part of making this quilt....I suggest that you take it slow and easy. I felt like I had to do a good deal of pushing/pulling the quilt to get it through the machine, but it wasn't unbearable, either.

After all the blocks and rows are joined together, sew a 1/2" seam around the perimeter of the quilt.

The last step is to use a scissors to cut some fringe. I made several cuts 1/2" apart or so, perpendicular to the seams. Be careful to cut close to the seam, but not through it. Once all the fringes are cut, wash and dry it. It will transform into one cozy quilt! Be sure to monitor the lint trap in the dryer, especially after the first washing. I'd recommend checking it at least a few times during the drying cycle, as it produces a LOT of lint!!

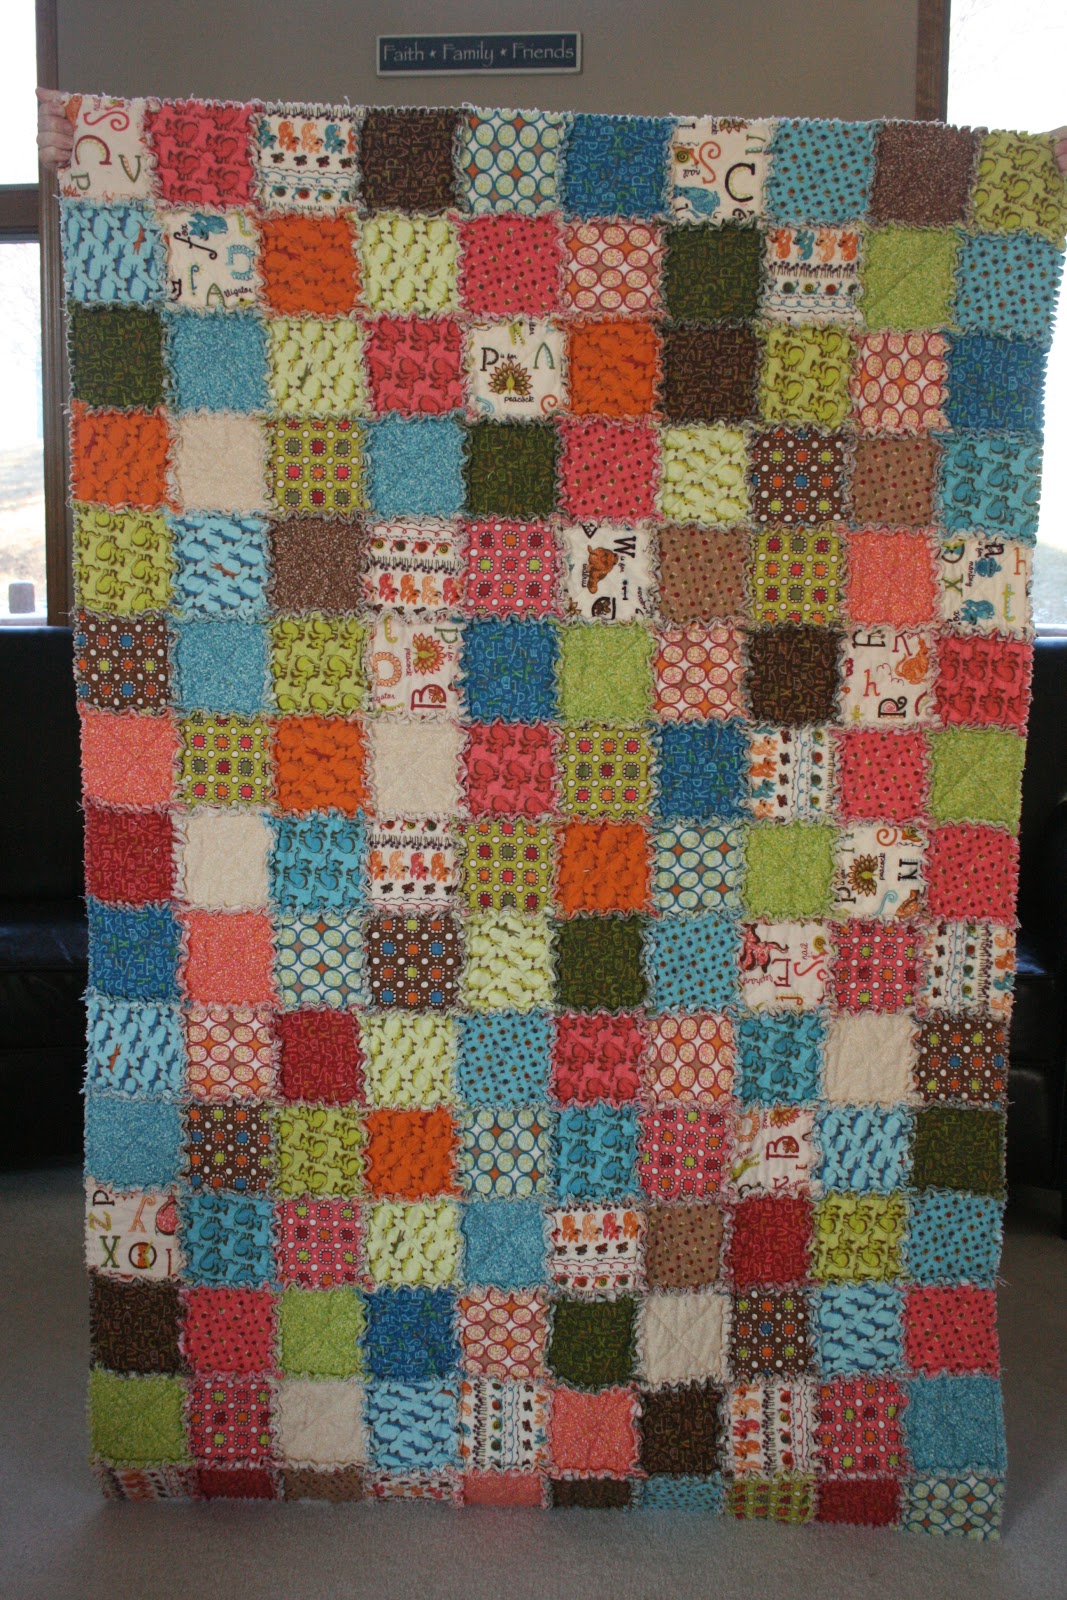
This is what the back of the quilt looks like. Just like the front, but no fringe!

Here is the quilt in use. It was a custom order for a little girl that is battling severe health issues. It's so fun to see her enjoying her quilt. Isn't she a cutie pie?
If you use this tutorial to make a quilt, I'd love to see it. Also, feel free to add it to the crazy mom quilts flickr group!