Applique was very scary to me before I tried it. Maybe it was that little mark thingy above the "e" that intimidated me? (What is that thing called, anyway?) I'm not sure what my hang up was, but I'm so glad I jumped in and finally tried it. I'm loving it!
I've learned a few things along the way....
Use matching thread. I know...duh! I won't tell you how many blocks it took me to discover this. :) Matching thread helps! I'm using thread that matches my top piece rather than the background. I wasn't sure which was the proper way to do it, but that seems to work.
Applique is much like learning how to ride a bike, or how to free motion quilt, or how to drive a stick shift. It may look easy, but doing it is another thing. It takes practice. No getting around that...practice!!!
Well timed encouragement is priceless. Lori Holt, whom I hear is an applique expert, shared this with me. "I always tell my students..."remember your goal is just to stitch one fabric on top of the other making sure that raw edges are under to prevent fraying....don't worry about the rest...that all comes with time...just relax and enjoy the process of moving the needle in and out of your fabric". Thank you Lori! That helped me immensely.
And a little tip I picked up from Mary: always keep a project ready to go by the door. I LOVE that mentality. You will always have something ready to take with you, even at the last minute.
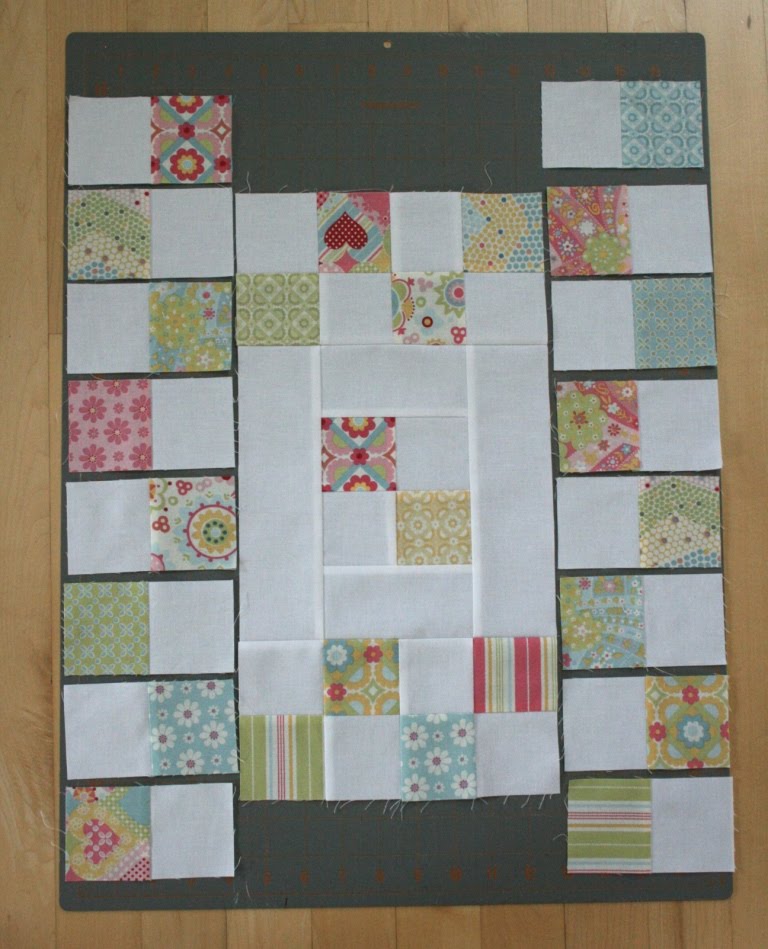
A few specifics about this project...
It was inspired by Nanette's Parcheesi quilt.
I cut my blocks 4" so they will finish around 3.5". I drew up my own template for the leaf.
I am using the freezer paper applique method.